
A successful reservation system onboarding ends with one result: live, synchronised bookings flowing correctly across every channel, with interfaces monitored and failures caught before guests notice. The first action is simple. Appoint a project lead and work through a pre-onboarding checklist before any technical configuration begins.
TL;DR:
- Appoint a project lead and create a comprehensive integrations map to ensure clear responsibilities, documented interfaces, and escalation contacts before technical setup.
- Choose an integration architecture based on the number of interfaces, opting for middleware when managing more than four active connections for better reliability.
- Conduct extensive testing, including payment flows, cancellations, and complex booking scenarios, in a sandbox environment before switching to live systems.
- Post-launch, implement daily booking reconciliation, monitor sync latency, and review mapping assumptions at 30, 60, and 90 days to prevent overbooking issues.
- Demand transparency from vendors on data export rights, SLA for interface monitoring, and a clear onboarding process to avoid hidden costs and technical gaps.
Table of Contents
- Pre-onboarding checklist: preparing people, contracts and data
- Roles and responsibilities: who does what during onboarding
- Choosing an integration architecture and mapping data correctly
- Core onboarding steps and testing before go-live
- Post-launch monitoring and the first 90 days
- Common onboarding pitfalls and how to avoid them
- What to demand from a reservation system vendor
- Our take: governance first, integrations second
- Getting started with Served's onboarding
- FAQ
- Sources
Pre-onboarding checklist: preparing people, contracts and data
Before anyone touches a configuration screen, get the groundwork right. Rushed onboarding projects fail on governance, not technology.
Start by naming a project lead who owns the timeline and a RACI chart that spells out who is responsible, accountable, consulted and informed at each stage. Set measurable success metrics: sync accuracy, time to first live booking, number of failed test cases.
Next, build an integrations map. List every connected system, the direction data flows, how often it updates and who to contact when something breaks. This single document becomes the reference point for the rest of the project, and documented interfaces with clear escalation contacts are consistently cited as a condition for successful integration work.
- Appoint a project lead and agree a RACI chart with named owners.
- Export a sample of current data: room types, rate plans, guest fields.
- Flag mismatches between source and target systems before migration.
- Review every vendor contract and Data Processing Agreement for export rights and sub-processor clauses.
Treat onboarding as a change project, not a software install. Communication and contract review take time, and skipping them costs more later.
Roles and responsibilities: who does what during onboarding
Ambiguity over ownership is one of the fastest ways to stall an onboarding project. Before configuration starts, write down who holds each responsibility and get sign-off from every party.
- Hotel staff own data accuracy: room types, rates, inventory and guest fields.
- IT or a technical lead owns integration configuration and sandbox testing.
- The vendor owns platform setup, training delivery and go-live support.
- Installers or middleware providers own interface wiring and monitoring configuration.
Record escalation contacts and response-time expectations for each interface failure category, and agree in advance whether monitoring and incident response sit with the vendor or in-house IT.
Pro Tip: Put the RACI chart and escalation contacts on a single shared page everyone can reach during go-live week, not buried in a project folder nobody opens.
Choosing an integration architecture and mapping data correctly
The architecture decision shapes everything that follows. A direct API connection to the channel manager or booking engine tends to be faster and cheaper to set up when you have a small number of interfaces. Once the count grows, middleware becomes the more practical route: industry guidance suggests considering middleware once you pass roughly four active integrations, since point-to-point connections multiply the places things can fail.
Whichever route you choose, document the same four things properly:
- Field mapping: room types, rate codes, booking status and payment status must mean the same thing on both sides of every interface.
- Semantic checks: confirm that a "confirmed" booking in one system cannot appear as "pending" in another.
- Monitoring rules: set daily heartbeat checks and alert thresholds, for example flagging any interface that has not synced within 15 minutes.
- Export rights: verify contractually that you can extract your own data in a usable format, protecting you against vendor lock-in later.
Connector timelines vary by complexity. Standard PMS to channel manager connections typically take two to four weeks, while custom integrations and full migrations can run from eight to sixteen weeks or longer. Build your project timeline around the more complex figure rather than hoping for the best case.
Core onboarding steps and testing before go-live
Once architecture decisions are made, the work moves from planning into execution. Follow a sequence that catches errors in a sandbox rather than in front of a guest.
- Import and validate room types, rate plans and allotments against your pre-onboarding data export.
- Run end-to-end test cases: a new booking, a modification, a cancellation, a room move, a group booking and a refund.
- Test payment flows separately: authorisation, capture and refund, checked against your processor's records.
- Stage the rollout, starting with one channel or property before expanding, and agree rollback criteria in advance.
- Complete a cutover checklist that confirms every mapped field matches before switching off the legacy system.
Most hotels today run on a Property Management System, yet a meaningful share still manage rates and availability manually, which is exactly where overbookings creep in during a rushed switch. That gap is why manual verification of cancellations and room moves during testing matters as much as the automated checks.
Do not treat a clean sandbox run as proof of readiness. Test the awkward cases: a group booking split across room types, a same-day cancellation, a refund that touches a different payment method than the original charge.

Post-launch monitoring and the first 90 days
Go-live is the start of the monitoring phase, not the end of the project. Build daily habits before you build anything fancier.
- Reconcile bookings daily for the first two weeks, checking for duplicates, missing records and status mismatches.
- Track sync latency, failed transaction counts and reconciliation discrepancies as your core KPIs.
- Review mapping and rate rules at 30, 60 and 90 days, since early assumptions rarely survive contact with real bookings.
- Prioritise fixes by guest impact first, operational nuisance second, and log vendor change requests with dates and evidence.
Pro Tip: Keep a simple daily log of sync errors for the first month. Patterns that look random on day one often point to a single recurring mapping fault by day ten.
Common onboarding pitfalls and how to avoid them
Most onboarding failures trace back to a handful of repeated mistakes, not exotic technical problems.
- Adding integrations you do not need. The old operations rule that no interface is the best interface holds up: every connection is a potential point of failure, so only build what adds real operational value.
- Skipping full test coverage for cancellations and room moves, which is how duplicate inventory and overbookings slip through.
- Failing to document and test data export before you need it, which is how properties end up locked into a vendor they want to leave.
- Launching without a dispute and reconciliation process, leaving staff guessing who resolves a mismatched booking at 11pm.
What to demand from a reservation system vendor
A vendor-led onboarding approach can remove much of the guesswork, provided the vendor is transparent about process. From our side, we built our onboarding around a free diagnostic that flags visibility and booking-path gaps before any technical work starts, human support throughout setup rather than a ticket queue, and a fast activation path designed for teams without dedicated IT resource.
Whichever vendor you choose, ask the same questions:
- Can we export our own data, in what format, and how quickly?
- Is there a written Data Processing Agreement, and does it name sub-processors?
- Will you provide a sample data export before we commit to migration?
- What is the monitoring SLA, and who is notified first when an interface fails?
A vendor that answers all four clearly, in writing, is one worth taking seriously.
Our take: governance first, integrations second
Most onboarding projects over-invest in technical wiring and under-invest in documentation. Our honest view: a minimal, well-tested path to your first live booking, backed by a clear rollback plan, beats a fully integrated system nobody has stress-tested. Add interfaces only once the basics hold. Human onboarding support reduces early errors far more reliably than extra automation does.
— Ignacy Jurkowski
Getting started with Served's onboarding
We built our onboarding path for venues that cannot spare a full IT project just to get bookings working properly. Start with a Booking Path Scan, a free diagnostic that shows exactly where guests drop off before they reach a confirmed reservation.
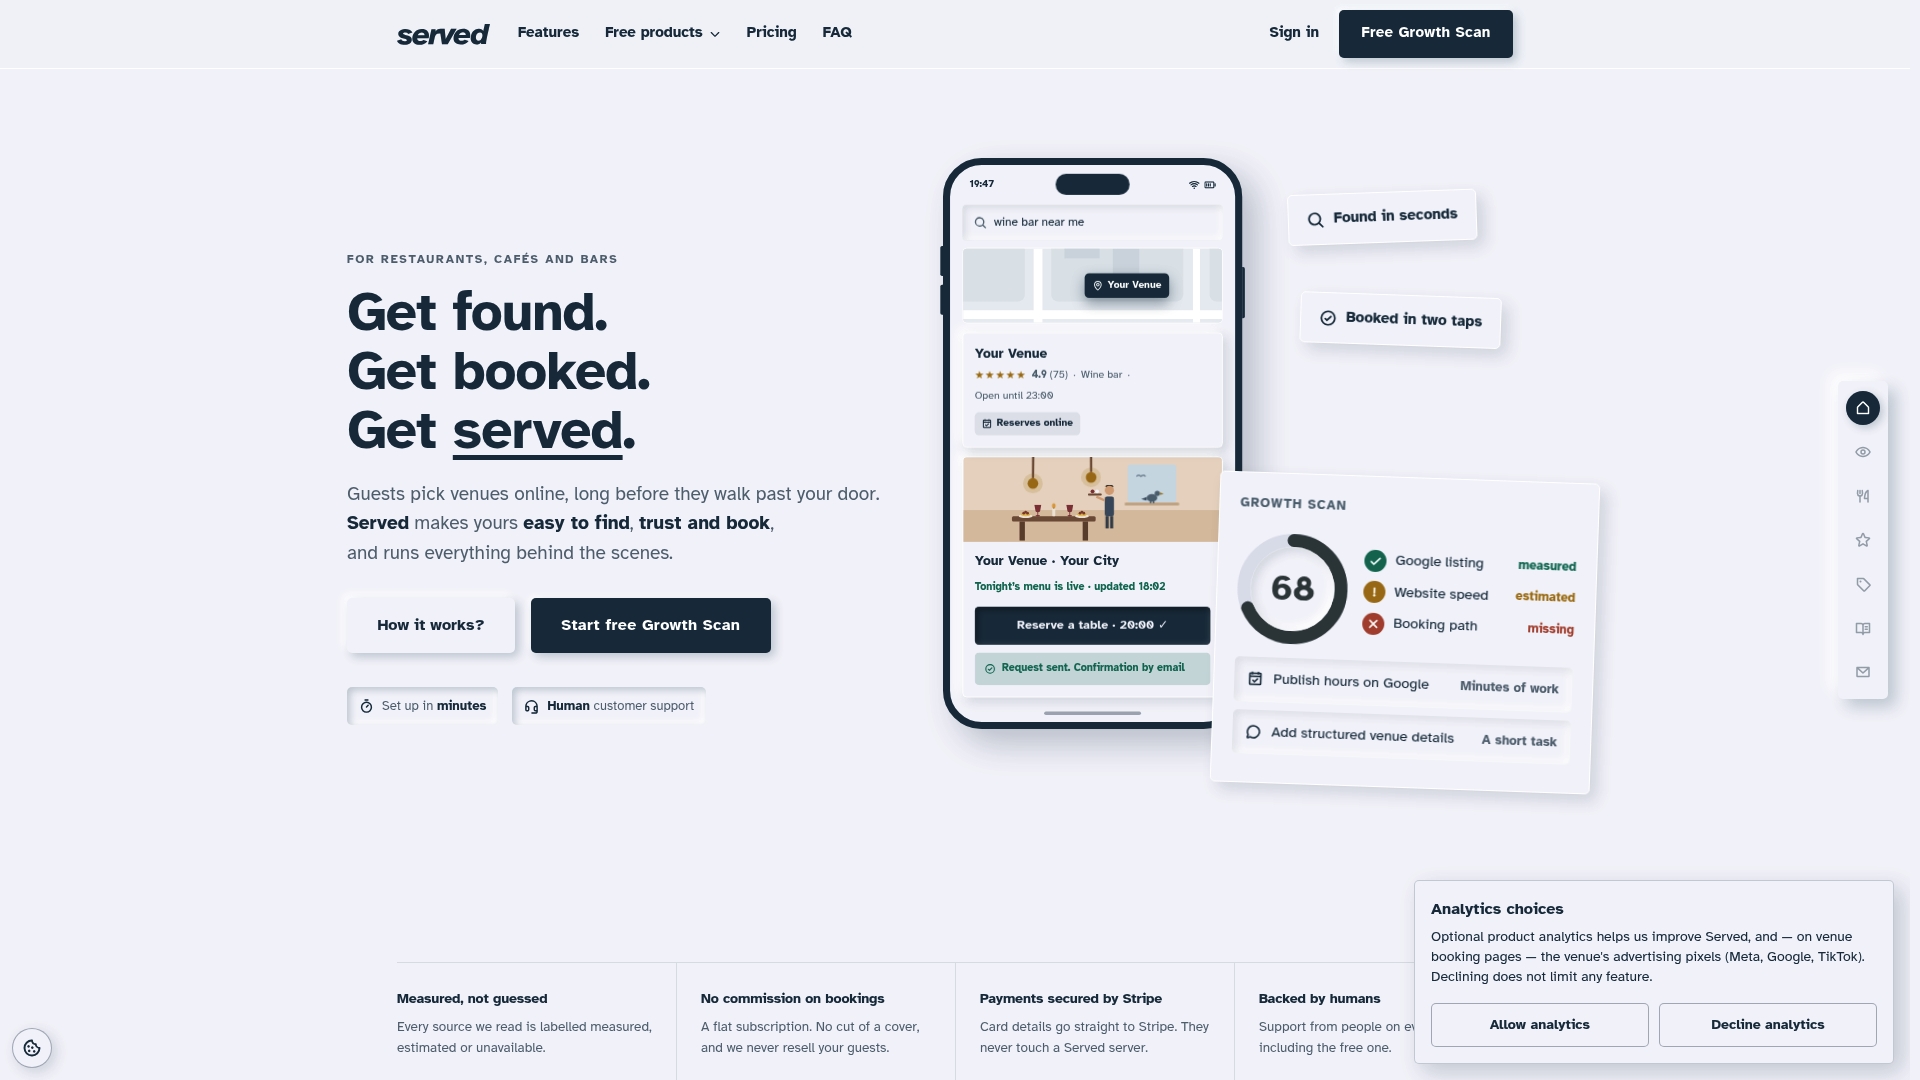
From there, we offer dedicated onboarding with a real person guiding setup, not a self-serve manual you are left to interpret alone. Human support is included, and there is no commission on bookings, just a flat subscription.
- Run the free Booking Path Scan to see your current gaps.
- Book dedicated onboarding if you want a person managing the switch with you.
- Explore plans and get booked once your booking path is confirmed clean.
Visit Served to see which option fits your venue.
FAQ
What are the three types of reservation procedures?
Reservation procedures are generally grouped into guaranteed reservations (held with a card or deposit regardless of arrival time), non-guaranteed reservations (released after a set hold time), and group or block reservations (multiple rooms held under one agreement). The right mix depends on your property type and cancellation policy.
What is the purpose of a reservation system?
A reservation system exists to capture, confirm and synchronise bookings across every channel a property sells through, so availability and rates stay accurate everywhere at once. It also reduces manual errors like double bookings, which remain a real risk where rates and availability are still managed manually.
Which is the best reservation system?
There is no single best system. The right choice depends on your property type, the number of channels you sell through, and whether you need a direct booking and visibility focus or a full property management suite. For restaurants, bars and cafes specifically, a commission-free, flat-subscription model such as Served removes the per-cover fees that complicate budgeting on other platforms.
Can you give me an example of an online reservation system?
An online reservation system typically combines a booking widget on your website or Google listing with a backend calendar that manages table or room availability in real time. Served's platform, for example, pairs real-time booking with visibility tools so guests can reserve directly without a vendor taking a cut of the booking.